Opening your swimming pool and other bad blind bags

Need more help?
Call us
Prefer to call us?
We've got someone standing by daily from 9 a.m. – 7 p.m. ET, Monday – Friday
(866)-HTH-POOL- Category:
- Pool •
- Pool Opening •
How To Open Your Pool
1) Open in the spring as early as possible
This helps avoid your water level getting too high from precipitation during the closed months, and also to avoid summer’s heat cooking whatever is trapped under that pool cover.
2) Remove Your Pool Cover (If You Have One)
If you do not cover your pool, obviously disregard. If you have a non-safety (debris) cover that’s held down with water tubes, sand bags or other weighted items, you'll remove those weighted items first. Or if you have an above ground cover, you'll remove the cable and winch you used to tighten your pool cover. If you have an in-ground safety cover, you’ll need your installation rod (this looks like a metal stick with an edge on it) in order to pop the spring off the anchor. You’ll use a twisting motion to release the springs. If you have a lot of debris sitting on top of your pool cover, there’s a fair chance it’ll slide into your pool as you remove the cover. If the debris is dry – like leaves, etc. – you can use a leaf blower to dust off the pool cover. As you remove your pool cover, take the towel-folding approach and fold it in half, and then in half again, and again until you can manageably pull the cover from your pool. This will help keep any remaining debris out of your pool water.
3) Remove the plugs from the jets
Get the winter plugs out of the return lines. If you see bubbles, that’s a good sign (it usually means the lines are blown out properly). Reinstall your return jets.
4) Take the skimmer lid off and remove the skimmer plug and ice compensator
I mean, isn’t the skimmer always a treasure trove of anticipation and excitement? During the in-season, ours is home to a collection of diving toys, wolf spiders and freakishly large katydids – all sometimes intermingled. In the off-season, an ice compensator can help prevent freeze damage. You'll remove that and reach down to the bottom of the skimmer to remove the plug there.
5) Put the skimmer baskets back in
For your summer treasures!
6) Check your water level and add water if needed
You want your water level to be right in the center of your skimmer to work properly.
7) Restore your pool equipment
Replace the drain plugs in the pump and filter and any other details specific to your pool equipment. I know that’s vague, but there can be intricacies to each pool and filter type that need attention at the start of each season. If you're not sure what needs to be done, check with the company that built your pool (or a pool expert). For my pool system, we change the filter system from winterize to “Filter” as the last step.
8) Turn on the filter
And run, run, run it!
9) Test your water, balance & shock
Test your water and add balancers as needed (pH, alkalinity, calcium hardness). Then at sundown, add your shock. Remember, shock can work hard at killing algae, so shock first to eliminate algae and then use algaecide 24 hours later to kill and prevent for the season. Keep in mind, depending on the state of your pool water, you may need to double or even triple the amount of shock you need to achieve clear, swimmable water.
10) If you're in cloudy water limbo
If you’ve balanced, shocked and you're still seeing some cloudiness, try a clarifier or flocculant to help your filter capture that floating debris and get you back to blue.
11) Test before you swim
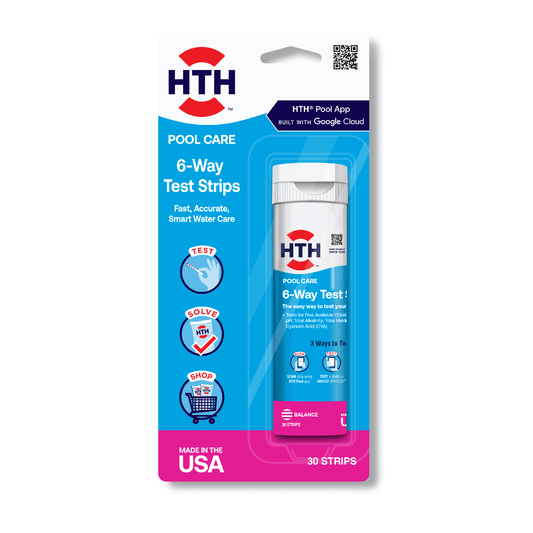
This is just an important rule to follow all season. Test your water with your HTH® Pool Care 6-Way Test Strips or HTH® Pool Care 6-Way Test Kit to make sure your chemicals are in safe ranges before swimming. Remember, you want free available chlorine between 1 and 4ppm.
Disclaimer:There could be more steps. There could be things that pertain to your specific pool that must be done to open. Not all of these steps may pertain to your pool. See note above about shadowing a neighbor or your pool builder/pool company to make sure you're doing what’s needed for YOUR specific system.
In the meantime, hopefully this gets you familiarized with some of the most common steps for opening your own in-ground pool and a step closer to saving up to hundreds of dollars every year.
To a clean, clear swimming pool!
Ever watch your kid open a blind bag only to, like, deeply dislike what they found inside? That volcanic sense of excitement can be stifled like a spoon to a flame when your kid tears into that bag and finds the ONE character that they definitely did not want – or worse, the character that they – UGH – already had.
No matter how long you've been a pool owner, every year, opening your own swimming pool for the season can feel daunting. Mostly because, if you cover your pool for the winter, you never know what you're going to get come spring time. It’s either the character you already had (wah-wah, surprise, it’s algae!) or a new character you definitely didn't want (is that a… gator? Kidding… kind of) like murky water and a scuba squirrel.
One year, we closed the pool in November, and neglected to fish out the barrage of autumn leaves that had so delightfully fluttered into our swimming pool. Rookie move. So, when we opened in March, things had gotten a little ripe underneath the pool cover. And by a little ripe, I mean you might as well have been on location for the set of a sci-fi swamp-man thriller.
But despite the mystery that lies beneath, opening your in-ground swimming pool yourself can save you up to hundreds of dollars in a single year when compared to calling a local pool company to open your pool. If hundreds of dollars are something that matter to you, learning how to open your pool yourself might be of value. Especially when you consider the savings year over year.
Now of course, the types of pools and filters vary, so what we've done is compile a list of common steps to opening an in-ground swimming pool for the summer. I can say based on experience, it ALWAYS helps to shadow someone first. If your neighbor opens their own pool, ask to see how they do it. (Or, if you're nervous and you already have a pool company scheduled, walk around with them this time, take video and pictures, and then get your big DIY savings the following season.) This list of steps is a great place to start. Go through this list and get an idea for where each step takes place within your pool, equipment and decking and what equipment you may need – get familiar with the process.
As always, we’re here to help. If you have questions, contact our help line at 1-866-HTH-POOL or talk to our experts with our live chat!
Caution
Please read the following important reminders before adding pool chemicals to water:
• NEVER mix products together or dissolve before use.
• ONLY enter pool when FAC levels are below 4 ppm to prevent risk of bodily harm.


